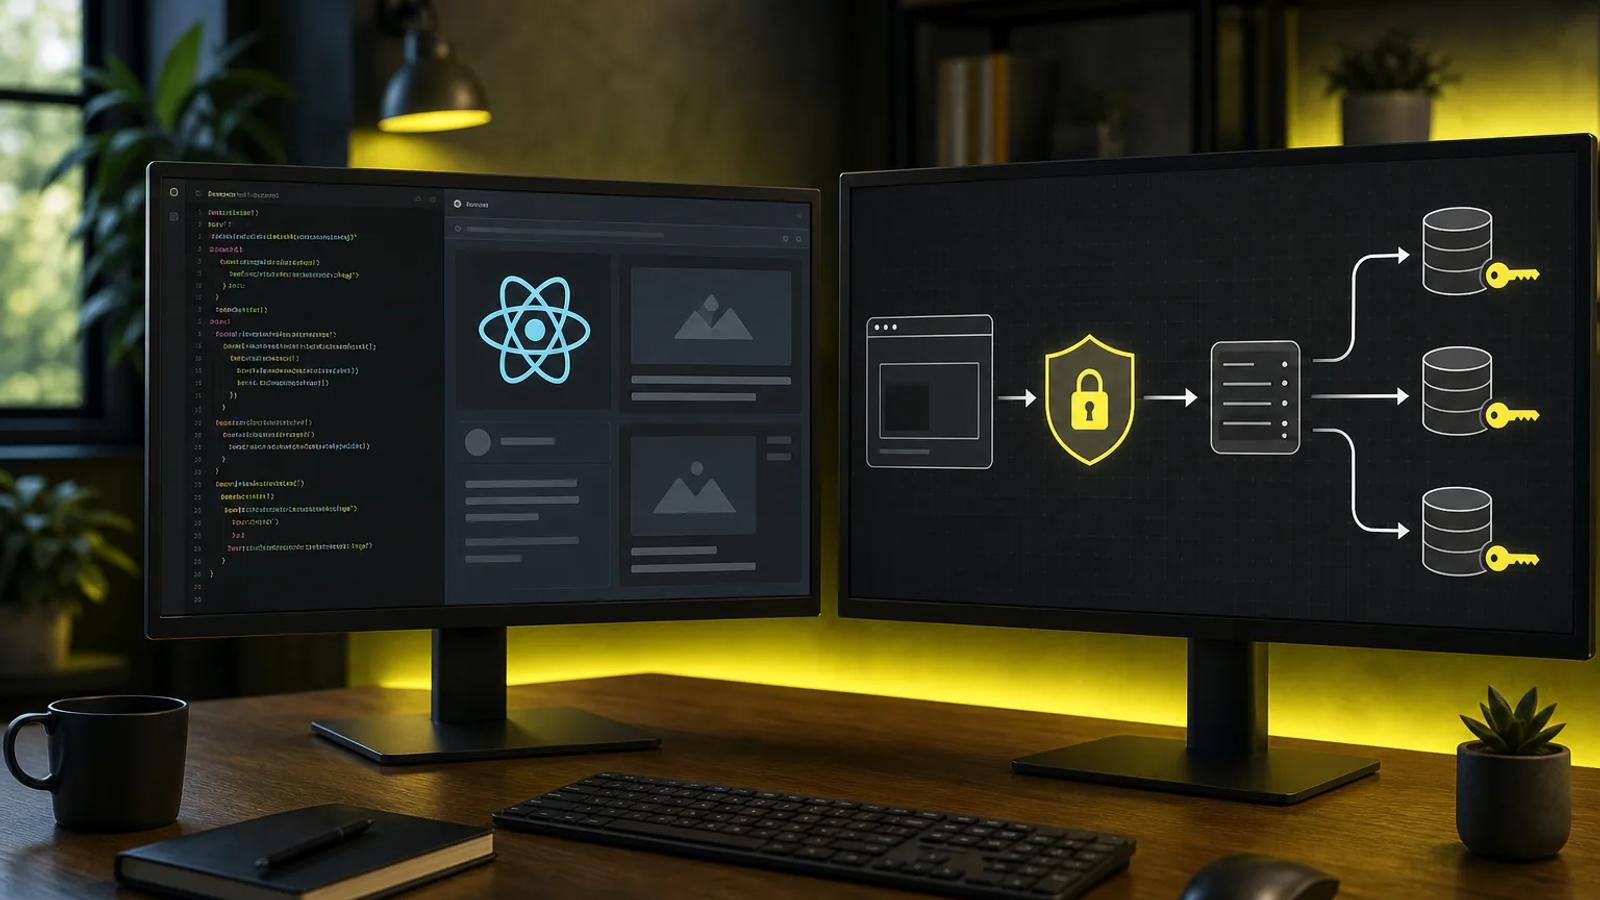
A React app can add image, video, and music generation through one API. The hard part is keeping your API key private while your interface handles media jobs that take time to finish.
Use Apiframe as your media layer, keep requests on your server, and let React handle form state, job status, and previews. The steps below walk through the full path, from the first prompt to a production-safe result. If you are new to the idea, our guide on what a unified AI media API is explains the basics first.
Step 1: Choose the API architecture and media workflow
To integrate a unified media API with a React app, start by splitting the work between the browser and your server. React should collect input and show status. Your server should hold the API key and talk to Apiframe. For more background on this kind of setup, see our guide on how to choose an AI media API.
Use this request path:
- A user picks a media type, model, and prompt in React.
- React sends that data to your own server route, such as
/api/media. - Your server adds the Apiframe API key and sends the request.
- Apiframe returns a job ID.
- Your app checks the job status or receives a webhook (an automatic message sent to your server when a job finishes).
- React displays the finished file through a preview component.
Apiframe uses one sign-in method and one job format across its image, video, and music endpoints. As your feature grows, you only need to change the endpoint and the model value, not build a new browser-side flow for every model.
For your first build, start with image generation. Images make it easy to test prompts, loading states, failed jobs, and output links before you add video or music. Once that works, add a media selector that maps each choice to its matching server-side endpoint. Our Nano Banana API guide is a good way to start if you want a concrete first model to try.
Write down your workflow before you build the form. Decide where prompts get checked, where results get saved, and what the user sees after a failed job.
Key takeaway: Keep React focused on user input and display. Keep provider calls, secrets, and usage checks on your server.
Step 2: Create a secure React and server-side API setup
A secure React integration never sends the Apiframe key to the browser. Put the key in your server’s environment settings, then expose a small route that only accepts safe, expected data. Our guide on AI media API security best practices goes deeper on keys, access control, and monitoring.
You can use Apiframe’s official Node.js SDK, or plain HTTP requests from your server. For the current v2 API, install the SDK with npm i @apiframe-ai/sdk@next. The default @latest tag installs the older v1 version, which is a different API. The SDK is for server code only, so never import it into browser code. Store the secret in an environment variable, such as APIFRAME_API_KEY. Add your environment file to .gitignore before you make the first commit.
React’s build variables are not secret. Anyone can inspect the JavaScript your app sends to the browser, so any key placed in client-side code can be copied. A server proxy keeps the key out of that code entirely. This is a standard, recommended pattern for protecting API keys in React apps.
Your server route should only accept the fields your product actually needs. For an image form, that might just be a prompt and a model choice. Reject any unknown fields if requests could come from outside your own interface.
const response = await fetch(`${APIFRAME_BASE}/v2/images/generate`, { method: 'POST', headers: { 'X-API-Key': process.env.APIFRAME_API_KEY, 'Content-Type': 'application/json' }, body: JSON.stringify({ model: body.model, prompt: body.prompt })
}); const data = await response.json();
return Response.json(data, { status: response.status });
Never send the provider’s key back in your response. Log a request ID or job ID instead. You should also set a limit on request size, check prompt length, and restrict model names to the values your account actually supports.
In development, allow requests from your React app’s address. In production, set a clear cross-origin policy (the rules that control which websites may call your server) and require users to log in before they can spend shared credits.

By the end of this step, you should have a React project, a server route, and an API key that never reaches the browser. Test the route with one fixed prompt before connecting real user input.
Step 3: Build the generation form and submit media requests
The form is the user-facing part of your integration. Keep it small at first. A prompt field, a model dropdown, and a submit button are enough to prove the flow works.
Use controlled inputs so React manages the form values directly. Trim extra spaces from the prompt before submitting. Disable the button while the request is sending, but do not treat that quick response as the full generation time. The first request only starts a background job.
async function submitGeneration(event: React.FormEvent) { event.preventDefault(); setError(null); setStatus('submitting'); const response = await fetch('/api/media', { method: 'POST', headers: { 'Content-Type': 'application/json' }, body: JSON.stringify({ prompt: prompt.trim(), model }) }); const data = await response.json(); if (!response.ok) { setStatus('idle'); setError(data.error || 'The request could not be started.'); return; } setJobId(data.jobId); setStatus(data.status || 'QUEUED');
}
On the server, match the chosen media type to a known, fixed endpoint. Do not let a value from the browser decide where your server sends its request. An open setup like that can be abused.
Apiframe’s image endpoint is POST /v2/images/generate. Video uses POST /v2/videos/generate, while music uses POST /v2/music/generate. The request body follows the same basic pattern each time: provide a model and a prompt, then add model-specific settings only when needed. Our AI video generation API guide and AI music API guide cover the extra fields each media type typically needs.
For example, your video form might accept a starting image link and an aspect ratio. Your music form might switch between a short description and full lyrics. Keep those extra fields inside a media-specific object, so your main server contract stays simple to test.
Apiframe supports more than 70 models through the same account and credit balance. Let users pick from a short, curated list instead of showing every model on day one.
Return the job ID to React as soon as the request is accepted. Do not wait for the final file inside that same request. Doing so would tie up a server connection while the model is still rendering.
Pro tip: Save the chosen model with the job record. If you change your default model later, old jobs will still show which model created each asset.
The milestone for this step is simple: submitting the form should produce a visible job ID and a clear queued status.
Step 4: Track jobs and render generated media in React
React needs a small set of clear states for handling background jobs. A job can be queued, processing, completed, or failed. Show each state on purpose instead of one vague loading spinner the whole time.
After your server returns the jobId, start checking your own status route at steady intervals (this is called polling). That route can call GET /v2/jobs/{id} with the private key. Apiframe says images typically take 10 to 60 seconds, so check every few seconds. Video and music often take longer, so do not assume every job finishes at the same speed. Also keep Apiframe’s request limits in mind: 600 status checks per minute per API key, so avoid checking too often.
useEffect(() => { if (!jobId) return; const timer = window.setInterval(async () => { const response = await fetch(`/api/jobs/${jobId}`); const job = await response.json(); setStatus(job.status); if (job.status === 'COMPLETED') { setResult(job.result); window.clearInterval(timer); } if (job.status === 'FAILED') { setError(job.error || 'Generation failed.'); window.clearInterval(timer); } }, 3000); return () => window.clearInterval(timer);
}, [jobId]);
Clear your polling interval when the component unmounts or the job reaches a final state. Otherwise, a user who navigates away might leave a timer running in the background. Your server should also stop checking after a set maximum job age.
Render the result based on its media type. Use an image element for image output, a video element with controls for video, and an audio element with controls for music. Show a plain text link to the file as a fallback if a preview fails to load.
Files generated by Apiframe stay available on its CDN for 3 months. If your product needs longer access, download the result from the returned URL and save it in storage you control. Store the job ID next to your own asset ID, so support staff can trace a complaint back to its source later.
For user-facing products, webhooks are usually cleaner than repeated polling. Your server receives the completed or failed event, updates the job record, and React reads that record through your normal app API.
Don't trust a message from the client claiming a job is complete. Always fetch the job result on the server, or verify the webhook, before marking an asset ready for download.

By now, a user should be able to submit one prompt, watch its status change, and view the returned media without exposing your API key.
Step 5: Add validation, errors, retries, and production safeguards
A demo can stop at a working preview. A real product needs rules around every request. Add these safeguards before opening generation up to real users at scale.
Validate before spending credits
Check the prompt on both sides of the request. Client-side checks improve the form experience, but server-side checks are what actually protect your account. Set a maximum length that fits the model. Confirm that image URLs come from approved hosts if your workflow accepts reference images.
Keep a record of the user, media type, model, a hash of the prompt, job ID, status, and timestamps. A prompt hash lets you spot duplicate requests without storing more of the user's original text than you need to.
Handle failures with clear rules
Separate user errors from temporary provider errors. A bad prompt or an unsupported setting needs a clear, useful message. A timeout or a provider-side error might be worth retrying automatically.
- Retry transient HTTP failures with exponential backoff.
- Stop after a small retry count.
- Never retry a content rejection without changing the request.
- Use an idempotency key or stored request record to prevent double submissions.
Return a stable error shape to React, such as { error, code, retryable }. The UI can then show a retry button only when a retry makes sense.
Protect cost and capacity
Set per-user limits on active jobs. Add a daily credit budget for free users. Your account has a limit on how many jobs can run at once, based on your Apiframe plan. If you submit more than that limit, Apiframe accepts the extra jobs and queues them, starting them as others finish. Even so, you should limit how many jobs each user can start, so one person cannot use up shared capacity. Generation requests are also limited to 500 per minute per API key, and you will get a 429 error if you go over.
Show the chosen model before submission. Model costs vary, and users should understand that a high-resolution video request may use more credits than a quick image test. Credits are refunded automatically when a job fails, but your own records should still capture the reason for the failure.
Use a webhook in production, and make sure your handler can safely process the same event more than once. Only update a job to “completed” if its stored state is not already final. If your server returns an error status, Apiframe marks that delivery as failed, so keep polling as a backup.
Finally, test the unglamorous cases. Refresh the page mid-generation. Submit an empty prompt. Close the tab early. Send the same request twice. Remove the source image partway through. Your app is ready when every one of these cases ends in a clear, known state instead of a stuck spinner.
If you would rather connect generation to an existing workflow than build every screen yourself, Apiframe also works with automation tools like Make, which can handle triggers from outside your React app entirely. Our guides to using Apiframe in Make.com and using Apiframe in n8n cover that no-code path in detail.
A good rule of thumb: use polling for a small prototype, then move completion handling to webhooks and durable storage before your traffic grows. Our unified media API latency guide can help you measure and improve speed as you scale.
FAQ
Can I call a unified media API directly from React?
You can call your own server route directly from React, but you should never call Apiframe from the browser with a secret key. Browser code is visible to anyone using your app, so a key placed there can be copied. Send the prompt to your backend instead. The backend adds the X-API-Key header and returns only the job data React actually needs.
How does React know when media generation is finished?
React can learn that a job is finished through polling or a status route backed by a webhook. Polling checks the job ID at set intervals. A webhook sends the result to your server, which updates the status. React then reads that status just like any other piece of app data.
What does Apiframe return after a generation request?
Apiframe returns a job ID as soon as it accepts a request. The media itself is generated in the background. Your server can check the job endpoint or wait for a webhook. Once the job completes, the result includes a link, or links, to the generated media.
Can I switch AI models without changing my React interface?
You can switch models without rewriting your main React flow, as long as the input fields stay compatible. Store the model choice as data, check it on the server, and pass it to the matching Apiframe endpoint. Some models need extra settings, so only show those fields when the selected model supports them.
Should I store generated media myself?
Yes, for anything important. Apiframe hosts generated files for 90 days, which is fine for testing and short-lived previews. A production app should copy approved files into its own storage once they are ready. Keep the original job ID on file for support and audit purposes.
Conclusion
Build your first version with a server proxy, one image form, and simple polling. Apiframe uses the same basic job flow across image, video, and music, so you can add more media types later without rebuilding your React state logic. Start with our AI image API guide, send one test job, and add webhooks before you launch to real users. If you need help with your first call, our Getting Started with Apiframe guide walks you through it.