Welcome to Apiframe! This guide will walk you through everything you need to know to start generating AI images, videos, and audio through our API.
Prerequisites
Before you begin, you'll need:
- A basic understanding of REST APIs
- An HTTP client (curl, Postman, or your preferred programming language)
- An Apiframe account (sign up at app.apiframe.ai/signup)
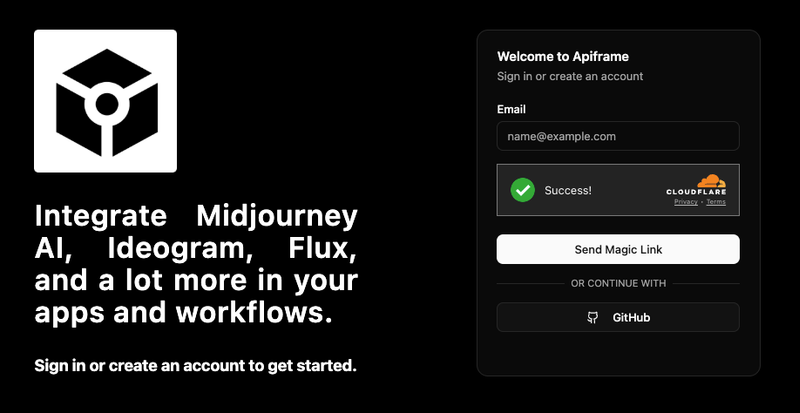
Step 1: Create Your Account
- Visit app.apiframe.ai/signup
- Enter your email and press "Send Magic Link"
- Or connect with GitHub
- You'll receive free credits to start experimenting
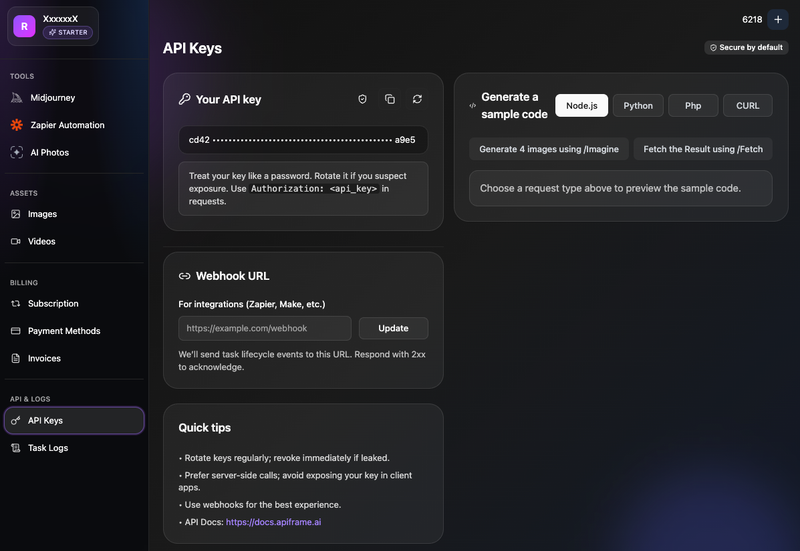
Step 2: Get Your API Key
Once logged in:
- Navigate to API Keys
- Copy and securely store your API key
Important: Never expose your API key in client-side code or public repositories.
Step 3: Make Your First Request
Let's generate an image using FLUX:
javascript
const response = await fetch('https://api.apiframe.pro/flux-imagine', {
  method: 'POST',
  headers: {
    'Content-Type': 'application/json',
    'Authorization': 'Bearer YOUR_API_KEY'
  },
  body: JSON.stringify({
    prompt: 'A serene mountain lake at sunrise, photorealistic',
    model: "flux-pro"
  })
});

const data = await response.json();
const taskId = data?.task_id;

console.log(taskId); // Use this to check status
Step 4: Check Generation Status
Most generations complete in seconds, but for longer tasks:
javascript
const status = await fetch('https://api.apiframe.pro/fetch', {
  method: 'POST',
  headers: {
    'Authorization': 'Bearer YOUR_API_KEY'
  },
  body: JSON.stringify({
    task_id: taskId,
  })
});

const result = await status.json();
// result.status: 'processing' | 'completed' | 'failed'
// result.image_url: URL to your generated image
Next Steps
- Explore our Documentation
- Join our Discord community