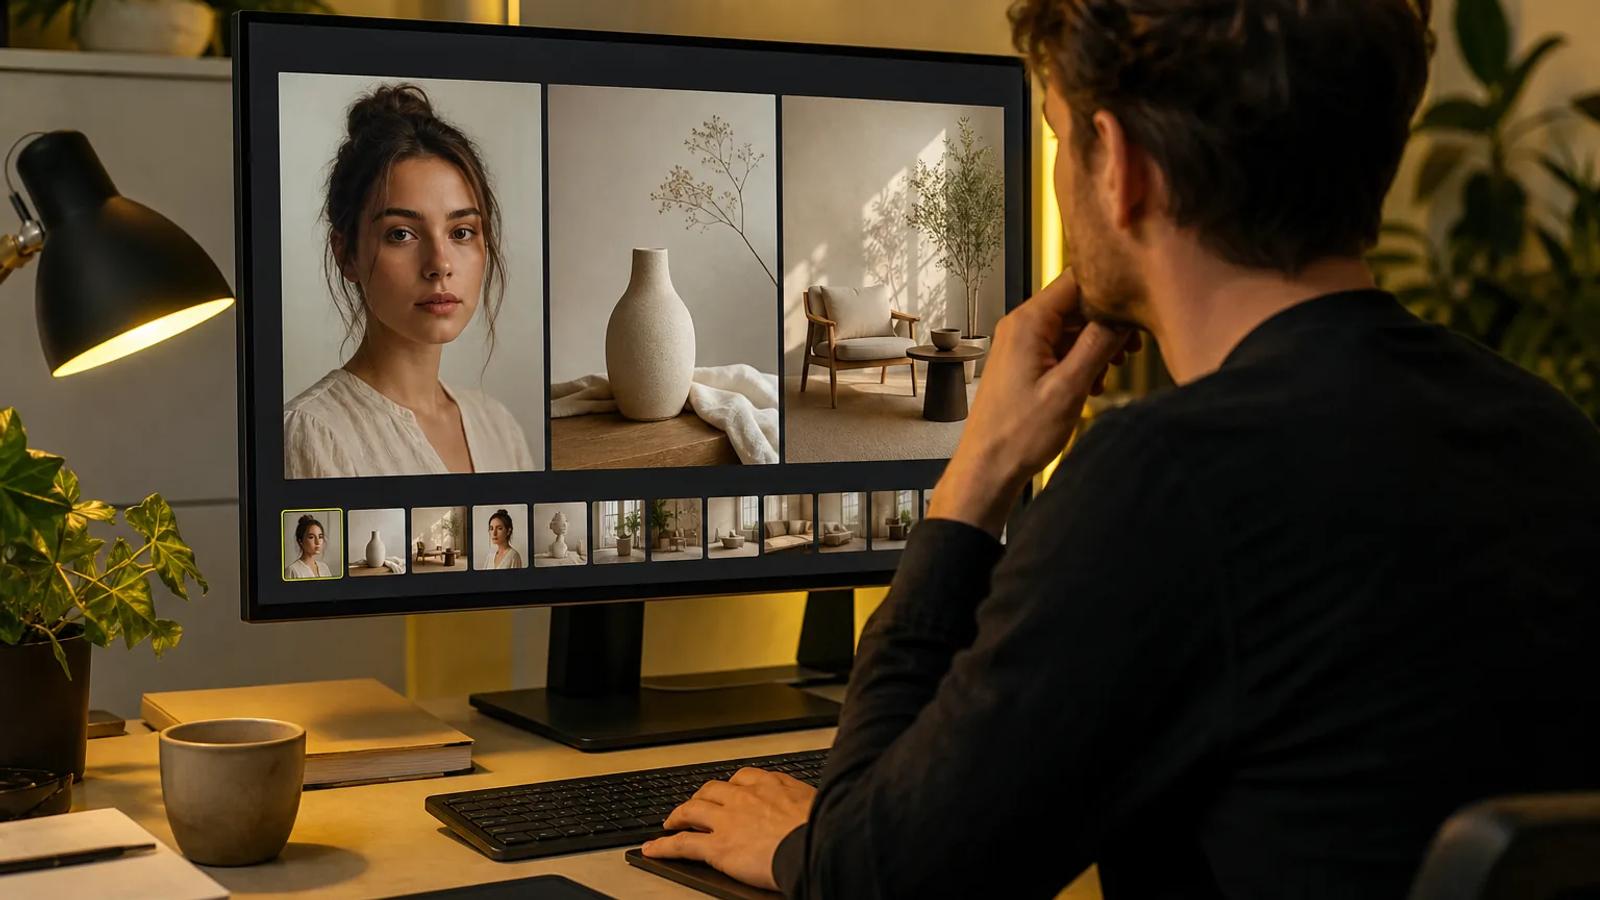
A reference image can pin down details that words leave vague. It can guide a face, a product's shape, a pose, a layout, or a visual style, while your prompt sets the new scene around it. The catch is that adding more reference images doesn't always lead to better output. Here's a five-step process for picking the right input, choosing the right workflow, and testing results before they reach your app.
We compared the official API documentation for five image generation models on how many reference images each one accepts: FLUX.2, Ideogram, Recraft V4, Seedream 4.5, and Kling Image. The accepted maximum ranged from 3 images for Seedream 4.5 up to 10 for Ideogram, Recraft V4, and Kling Image. FLUX.2 allows 8 references through its API and 10 in its playground interface. Since these limits change as models get updated, it's worth confirming the current number directly in a model's docs before building a workflow around a specific figure.
Step 1: Choose and Prepare the Right Reference Image
The first step in using reference images well is picking one that actually shows the detail you want to preserve. A good reference clearly shows facial structure, product geometry, fabric texture, camera angle, or lighting. A pretty image with a hidden subject won't help much.
Start by naming the job in plain terms. Are you trying to keep a person's face? Match a color palette? Copy a room layout? Place a product into a new scene? One image can guide several traits at once, but a focused image gives the model less to guess at.
Pick a clear source with enough visible detail. Avoid heavy blur, strong filters, extreme crops, and objects hidden behind hands or shadows. If you're preserving a product's shape, make sure its edges are visible. If you're preserving a face, use a well-lit shot with clear features. The model can only work with what the image actually shows.
Multiple references help when each one has a clear, separate role. For example, one image can show the subject while a second supplies the lighting. Two faces of different ages, or two versions of a product, can confuse the result. Write down each image's role before uploading anything.
Keep a small, curated set of approved images. A folder full of near-duplicates makes testing harder than it needs to be. Save the source image, its intended role, its crop, and the prompt version that worked with it. That record helps if another person on your team ever needs to reproduce the same output.
For production teams, this step doubles as a rights check. Use images you own or have permission to use, especially when the input shows a person or a branded item. A reference image guides the model, but it doesn't remove your responsibility to check where the source came from.
Key takeaway: Choose the smallest set of clear images where each one has one specific, useful job.
Step 2: Select an AI Image Generation Workflow
Your next choice is the workflow. Image-to-image, reference-image conditioning, IP-Adapter, and ControlNet each solve a different problem. The right method depends on exactly what needs to stay fixed in the new image.
Use image-to-image when you want a variation of the source. It keeps some of the source's broad structure, color, and tone while allowing the prompt to change the scene. This works well for restyling a photo or making alternate versions of a rough concept.
Use a reference-image field when the model supports direct image input for editing or composition. Some APIs call this field image_url. Others use an array field like reference_images or input_images. The exact field name depends on the model, not on image generation as a whole.
Different image-generation APIs separate single-image editing from multi-image input. For example, black-forest-labs/flux-2-flexsupports up to ten reference images. Models with documented multi-reference behavior, such as Seedream 5.0 Pro, can accept several inputs, but you should still check each model's input requirements before switching between models.
Use IP-Adapter when the image should guide broader traits like style or subject appearance, while the prompt builds an entirely new composition. Use ControlNet when pose, edges, depth, or spatial structure matter more than visual style. A pose skeleton and a mood board image are two very different kinds of control.
If you're building a product, Apiframe gives you one REST shape across image models. You submit a job toPOST /v2/images/generate, receive a job ID, then poll it or use a webhook. You can change the model parameter without rewriting the whole media pipeline. That is useful when one model handles identity well, but another gives better detail or cost.
If you're building a product around this, Apiframe's image API gives you one consistent request format across image models. You submit a job to POST /v2/images/generate, get back a job ID, then either poll it or use a webhook. You can change the model parameter without rewriting your whole media pipeline, which is useful when one model handles identity well but another gives better detail or a lower cost.
Apiframe also covers video and music models under the same account. A team building a media app can keep image references in one workflow, then hand approved stills off to a video step. The AI development platforms guide is worth a look once your pipeline grows past a single image endpoint.
Before writing any code, note down three limits for whichever model you're using: the number of reference images allowed, the accepted input field name, and the output size. Do this per model, since the model's name alone won't tell you how its reference system actually behaves.
Step 3: Match the Reference Method to Your Goal
To use reference images effectively, match the input method to the specific detail you need to control. A subject reference, a style reference, and a composition reference can all start out as ordinary images, but each one needs different handling.
| Goal | Best starting method | What to preserve | Main risk |
|---|---|---|---|
| Make a new version of one image | Image-to-image | Broad layout, colors, and subject placement | The result stays too close to the source |
| Keep a character recognizable | Subject reference or IP-Adapter | Face shape, hair, clothing, and key traits | The face drifts across scenes |
| Match a pose or room layout | ControlNet | Edges, depth, pose, or structure | The output feels stiff |
| Apply a visual style | Style reference | Palette, light, texture, and brush feel | The style changes the subject too much |
| Combine several assets | Multi-reference editing | Selected people, products, or environments | Conflicting inputs reduce clarity |
Image-to-image is usually the simplest place to start. Keep the source and output aspect ratios close when composition matters, since a mismatch can stretch the source or force an unwanted crop. Center cropping in particular can cut off the exact detail you were trying to preserve.
For identity-focused work, start with one strong image. Add a second angle only if the model supports it and both images clearly show the same subject. A large input limit isn't a reason to fill every available slot. Research on this topic found a median reference count of around 2.5 images, even when some models allowed many more. More inputs didn't reliably lead to a better or larger output.
That trade-off matters in a production queue. One model may accept up to ten references but produce a smaller image, while another may take two or three and reach a higher resolution. FLUX.2 [pro], for example, is documented at up to 4MP with multiple reference support in the source material. The Flux 2 Pro documentation is useful for checking a concrete multi-reference implementation. Test the actual output you need instead of judging a model by its input count.
For style transfer, choose an image with a clear, strong visual language. A distinct film look or bold illustration style is easier for a model to read than a nearly plain photo. Keep the new subject specific in your text prompt so the style doesn't end up swallowing its shape entirely.
When your product specifically needs face-focused editing, a dedicated face-swap style operation can often be easier to test and control than asking a general-purpose model to preserve identity while changing an entire scene.
Set a decision rule before comparing outputs: are you preserving identity, structure, or style? Asking one single reference image to do all three at once usually means more failed generations.
Step 4: Write a Prompt That Works With the Reference
A reference image supplies visual context, but your prompt still has to tell the model what to show, what to change, and what needs to stay exactly the same. Think of the image as the mood board and the prompt as the shot brief.
Start with the new scene. Then name the subject and its key traits. Next, describe the details that matter most. End with any constraints. This order makes the request easier to read, and easier to edit later.
For a single reference, try a structure like this:
Create a photorealistic editorial image of the same ceramic lamp in the reference image.
Place it on a walnut desk beside an open notebook.
Keep the lamp's shape, handle, glaze color, and brass switch unchanged.
Use soft morning window light, a 50mm view, and leave open space on the right.
Change only the setting. Do not add text, logos, or extra lamps.
Be direct about what comes from each input. With two images, say, “Use Image 1 for the product shape. Use Image 2 for the warm side lighting.” A vague instruction such as “combine these references” leaves the model to decide which details win.
For edits, repeat the preserve list on each turn. Say “change only the background” when the background is the only target. If the first result changes the product color, add color to the locked details on the next request.
Use image words that describe the output you want. Say “full body visible” if feet matter. Say “top-down view” if the layout needs a flat plan. Say “negative space on the left” if text will sit beside the image later. For photorealism, name the medium directly and describe natural texture instead of asking for a vague “better” image.
When text needs to appear inside the image, put the exact words in quotation marks and specify placement, size, color, and type style. Use a higher quality setting for small text when the model offers that control. For cost-sensitive testing, start at a lower quality setting, then raise it once the layout actually works. Quality settings usually trade off against speed, so it's worth testing both ends before settling on a default.
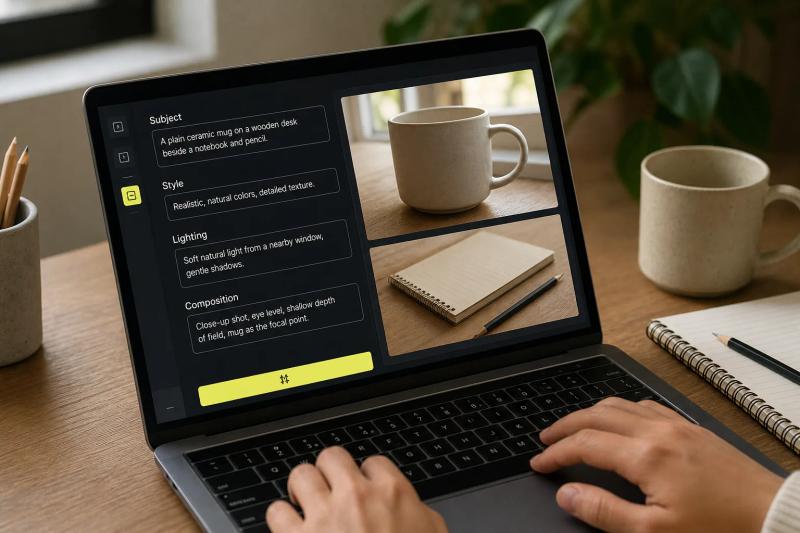
Keep the first prompt clean. Change one thing per revision. If you change the camera angle, color, wardrobe, and background together, you won't know which instruction caused the failure.
Step 5: Adjust Influence, Generate Variations, and Evaluate Results
The final step is controlled testing. Generate a small batch, look closely at the results, then change one control at a time.
Start with the model's default reference strength if it offers one. If the result ignores the subject, raise the influence slightly. If it copies the source too closely, lower it. Some models don't expose a strength control at all, in which case you'll need to adjust the prompt or switch methods instead.
For style work, keep the influence lower than you would for identity work. You want the palette and lighting to carry over, but the new subject still needs to come through clearly. For a product or character, stronger influence can help, though pushing it too far can limit how much the pose or scene is actually allowed to change.
Generate a few variations using the same source and base prompt first, then compare them side by side. Look specifically at the details that matter for your use case:
- Does the face keep its key proportions?
- Does the product keep its shape and small parts?
- Does the pose match the guide?
- Does the style carry over without hiding the subject?
- Does the output meet the required aspect ratio and size?
Keep a simple test log with the model, prompt, reference image URLs, strength setting, seed if one was used, output size, and notes on the result. A seed can help you reproduce a result later, but it won't replace a reference image when identity is what actually matters.
Watch for a few common failure signs. A face that changes noticeably from one scene to the next usually needs a stronger subject reference or a model built specifically for consistency. A product with warped edges may need a cleaner source image or a composition-focused control method. A style transfer that quietly changes the subject's pose is often using too much image influence.
Speed is worth testing on its own. Reliable public data on generation speed is genuinely thin across this space, so it's worth measuring queue time and completion time yourself rather than relying on published averages, which can vary a lot depending on load and settings.
Cost deserves the same care. Apiframe bills using credits, and every plan includes access to its full model catalog. You can test with a cheaper model during prompt development, then switch to a higher-fidelity model for approved assets without changing your endpoint or integration. Check the pricing page when you need to estimate the cost of a high-detail workflow, and the comparison of unified media generation APIs if you're weighing Apiframe against other providers.
For teams that also ship sound or video, the same account can support a wider media flow. A still image can become the first frame for motion, and a campaign can pair generated visuals with music through Apiframe's music generation models. Keep each stage of the pipeline separate in your job records, so a failed video step doesn't force you to regenerate an already-approved image. The overview of unified AI media APIs covers this kind of multi-stage setup in more detail if you're planning one out.
Tip: Freeze the reference image, model, and base prompt while you tune just one variable at a time. That turns random trial and error into something you can actually repeat and compare.
Before shipping anything, review a sample from every batch. Check identity, layout, unwanted text, visual artifacts, and rights to the source images. Reference conditioning is a genuinely useful tool, but it's not a guarantee that every output will hold onto the same details.
FAQ
What is a reference image in AI generation?
A reference image is an input that guides an AI model's visual output. It can show a subject, style, layout, pose, or product detail, while the text prompt describes the new image being created. The model reads both inputs together as conditions, so the output can change in the ways you want without losing every visual anchor point.
How many reference images should I use?
Start with one reference image, then add a second only if it has a clearly separate role. A subject image plus a lighting image can work well together, but several conflicting faces or product versions can confuse the model. The right number ultimately depends on the model's input limit and what your output actually needs. More references don't guarantee higher resolution or better detail.
What is the best reference image method for character consistency?
A subject-reference workflow or IP-Adapter is a strong starting point for character consistency. Use one clear hero image and keep the character description stable across prompts. If pose matters more than identity, add a ControlNet workflow when the model supports it. Test several scenes before you assume the face will stay fixed.
Why does my AI image ignore the reference?
Your AI image may ignore the reference because the input is unclear, the prompt conflicts with it, or the model gives text more weight. Start with a better crop and a simpler instruction. Name the exact feature to preserve, then raise reference influence if that control exists. If the model still drifts, try a method built for subject or structure control.
Can developers use reference images through an API?
Yes, developers can pass reference images through an API when the selected model supports image input. The request may need a single image URL or an array of URLs. With Apiframe, you send the generation job to the shared image endpoint, then poll the job or receive a webhook. Always check the model-specific field names before deployment.
Conclusion
Start with one clear reference and one defined goal. Test it with a structured prompt, adjust influence in small steps, and record the result. If you're building this into a product, try the Apiframe quickstart so you can compare supported image models through one API before committing your pipeline to a single provider.