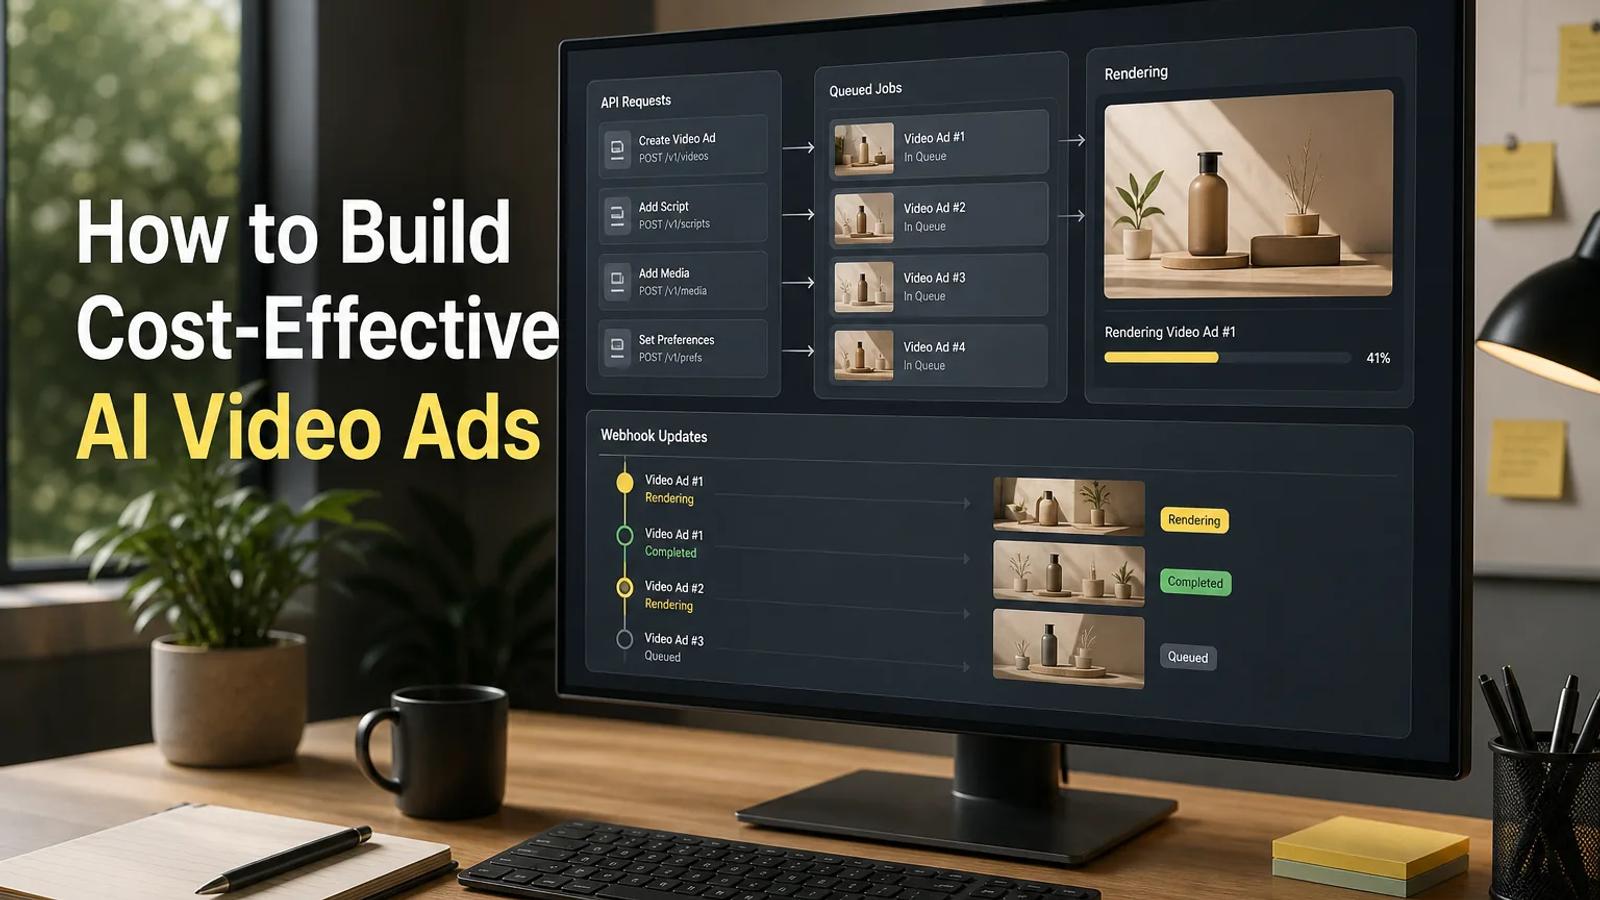
Most AI video APIs are poor fits for ad production. You can keep costs in check by treating each ad as a short production system, not one giant prompt. This guide shows how to set a budget, pick models, cut failed renders, and ship useful variations with Apiframe.
Step 1: Define the Ad Brief and Cost Ceiling
Start with a brief that gives your AI video ad one job. Write the offer, audience, platform, call to action, aspect ratio, and target length before you send a request.
Keep the first version short. A 10 to 20-second ad is easier to render, review, and adapt than a long clip with many scene changes. Split the concept into shots. For example:
- Shot 1 shows the problem in two seconds.
- Shot 2 shows the product in use.
- Shot 3 gives the offer and call to action.
Set a ceiling for the full batch, not only the final file. Include failed generations, test clips, upscale jobs, music, and one or two replacement shots. If a model charges by the second, your rough estimate is:
Total spend = rendered seconds × model rate × number of attempts.
That math gets more useful when you track each shot in a small sheet. Record the prompt, model, duration, result, and credit cost. Track retries and billable seconds before production starts. The AI video cost estimation guide can help you structure that math.
Give each shot a pass or fail rule. A pass might require a clear product shape, a steady camera, and a clear first frame. A clip that looks good but misses the offer still fails the brief.
Key Takeaway: Set the spend limit before you generate, then judge every shot against one stated ad goal.
Step 2: Build the Generation Workflow with Apiframe
Use Apiframe when you want one API contract for video generation instead of separate code for each model. We give you one key, one job shape, async processing, webhooks, and shared credit billing across 70+ models.
The basic flow is simple. Send a request to the video endpoint. Save the returned job ID. Then poll the job or provide a webhook URL so your app can collect the finished media.
curl -X POST https://api.apiframe.ai/v2/videos/generate \ -H "X-API-Key: afk_your_api_key" \ -H "Content-Type: application/json" \ -d '{"model":"seedance-2.5","prompt":"A close shot of a red bicycle moving through a rain-wet city street, soft morning light, steady tracking camera, no text"}'Keep the request on your server. Never place the API key in browser code or a public mobile bundle. Store the job ID with your campaign ID, shot number, and prompt version. That record lets you retry one failed shot without rerunning the whole ad. See the AI media API security best practices for more on protecting your key and job records.
Apiframe returns a queued job, then reports its state through polling or a webhook. Read the Apiframe webhook documentation before you add retries. Your handler should accept the same event more than once, since a network timeout can make a completed event look failed.
Use a queue when you generate many variants. Limit the number of jobs running at once to what your plan allows, then queue the rest. This prevents a sudden batch from filling your quota while a human still reviews the first results.

Pro Tip: Save prompts as versioned records. When a shot works, you can repeat the result without guessing which wording changed.
Step 3: Choose a Video Model for Each Shot
Choose a model per shot when you build a cost-effective ad with AI APIs. One model may handle a product close-up well, while another gives you better motion or sound.
Start with the least costly model that can pass the shot's quality rule. Use a high-end model only when the shot needs its specific strength. This keeps a failed test clip from consuming the same budget as your most important shot.
| Shot need | Model direction | What to check | Cost warning |
|---|---|---|---|
| Short text-to-video concept | A short-form video model | Motion, subject shape, and prompt fit | Run a low-cost draft before a high-resolution pass |
| Detailed physical action | Sora 2 | Object movement and scene logic | Check current pricing |
| High-resolution product scene | Veo 3.1 | Output detail and framing | Check current pricing |
| Motion with a longer runtime | Kling 2.0 | Continuity across the full clip | Check current pricing |
| Final shot with synced sound | Apiframe video model access | Audio timing and message clarity | Check current per-model credit costs |
Apiframe can expose video models such as Seedance 2.5, Kling 3.0, Sora 2, and Veo 3.1 through the same integration. Change the model parameter rather than rebuilding your job system when a new model fits better.
Generation times vary by model, plan, and queue conditions. Published benchmarks for models like Sora 2, Seedance 2.5, and Kling 3.0 differ widely and may not match your real environment. Measure your own queue time, render time, and webhook delay.
Do a small bake-off with the same prompt. Generate one clip per candidate, then score only the traits that affect the ad. A longer video limit doesn't prove better value. Check the current maximum output length for each model, but a short ad rarely gains anything from extra time.
Step 4: Write Prompts That Reduce Failed Generations
Good prompts lower wasted renders because they remove choices the model would otherwise make for you. Write the shot as a brief for a camera crew.
Include these details in a fixed order:
- Subject: say what must appear and what it looks like.
- Action: name one main movement.
- Setting: describe the place, time, and light.
- Camera: state the shot size and camera motion.
- Style: set the visual tone without piling on vague adjectives.
- Limits: exclude warped text, extra limbs, logos, or scene changes.
Keep one major action per shot. A prompt that asks for a person to open a box, walk outside, speak to camera, and reveal a discount may fail at every action. Split it into separate clips and join them in the edit.
Use reference images when the product must stay consistent. State which features cannot change, such as color, shape, button placement, or label position. Text inside generated video often bends or changes, so add important copy later in your editor. For character or person shots, the character consistency guide explains how to keep the same appearance across clips.
Write prompts in plain language, then test one change at a time. If the camera shakes, change the camera instruction. If the product changes shape, tighten the subject description. Changing five parts at once makes the result hard to learn from.
For text-to-video basics, the text-to-video generation process shows how prompts become rendered motion. You don't need to understand every internal model step to make a better shot brief.
Key Takeaway: Treat every generated clip as one camera setup with one action, one subject, and one job.
Step 5: Generate, Edit, and Add Audio Efficiently
Generate rough shots first, then spend time on the few clips that survive review. This is the fastest way to build an ad without paying premium rates for every idea.
Render a draft at the lowest useful resolution when the goal is motion testing. Check the opening frame, subject continuity, camera path, and action. Reject weak clips early. Upscaling a bad shot only makes a larger bad shot. For a structured review process, see how to test AI-generated video quality.
Keep the edit modular. Store each shot as its own asset with a clear name such as campaign, version, shot, and model. Then you can replace a single scene without touching the rest of the timeline.
Use cuts instead of forcing one model to generate a full story. A two-second problem shot can cut to a four-second product shot. A final card can carry the offer with clean, editor-made text. This also gives you control over legal copy and brand rules.
Sound needs its own review. Apiframe supports video generation with synchronized audio, including through models like Kling 3.0 that generate audio natively with the video. Music generation can also be handled through the same media API. Keep voice, music, and effects on separate tracks when your editor supports it. Lower the music under speech so the offer remains clear.
A music generation API can fit into a media workflow. Check usage rights for every voice, song, and source asset before you publish an ad.
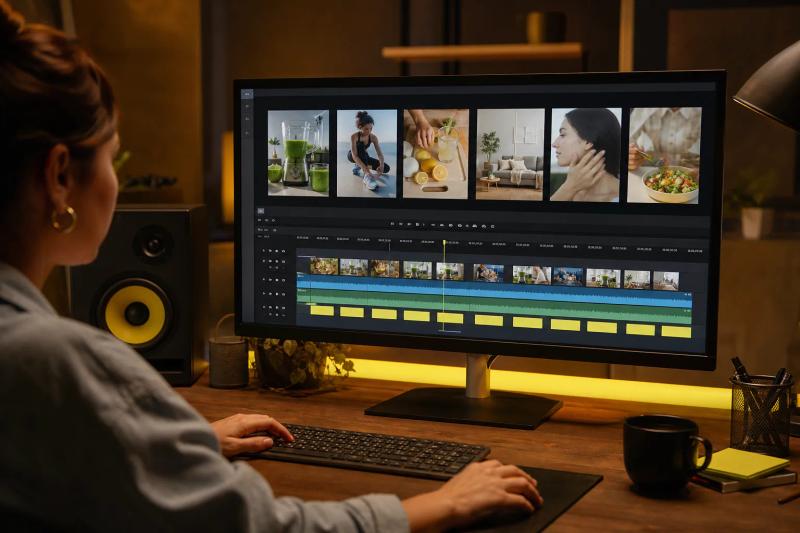
Export platform versions after the master cut passes review. Change the crop and caption placement for each platform rather than shrinking one wide file into every format.
Step 6: Test Variations and Control Production Spend
Test the idea that affects ad performance, not random visual changes. A cost-effective AI video workflow changes one variable per batch so you can see what helped.
Build a test matrix around the first few seconds. Make one batch with different hooks. Make another with different product angles. Keep the offer and call to action fixed while you compare those versions.
Track each result with fields such as:
- Prompt and model version
- Rendered seconds
- Number of attempts
- Credit cost
- Approval status
- Watch or click result, when available
Set a retry limit in code. Automatic retries help with temporary failures, but unlimited retries can quietly consume a campaign budget. Retry transport errors and failed jobs. Don't retry a clip that completed but missed the brief without changing the prompt.
Cache assets that don't change. A product image, end card, or approved voice track should not be regenerated for every variation. Keep those files in your own storage when you need access beyond Apiframe's 90-day media retention period.
Credits are reserved when Apiframe accepts a request and refunded automatically if the job fails. Plan credits reset at renewal, and they don't roll over. That makes a spend dashboard useful, especially when several team members share one credit balance.
Run a weekly cost check by shot type. If product close-ups pass at a lower rate than lifestyle scenes, fix the prompt before switching models. If a high-cost model wins only one out of ten attempts, reserve it for the shot where its quality changes the ad.
Compare the full production path, not just a model's advertised per-second price. You can also use Apiframe's unified media pricing calculator guide when you model a larger batch.
Stop when you have a clear winner and enough evidence to ship. More variants are not automatically better. They are useful only when each one tests a decision.
FAQ
What is the cheapest way to make an AI video ad?
The cheapest approach is to generate short draft shots, reject failures early, and reserve high-cost models for approved scenes. Use a provider with a free tier when you are testing. Apiframe includes free signup credits, then uses shared credits across its model catalog, so you can compare models without writing a new integration for each one. Follow the getting started guide to run your first generation.
Can I make a video ad from text with an API?
Yes, but text-to-video support is still limited across AI APIs. Apiframe can generate short ads from text and supports video output up to 20 seconds, with 4K or 1080p options depending on the model and request. For a full guide to video API capabilities and setup, see the AI video generation API guide.
How long should an AI-generated video ad be?
A short ad should be only as long as the message needs. Start with a 10 to 20-second cut, then test a shorter version if the hook works quickly. Short clips cost less to render and are easier to replace. A model's maximum length should not decide your ad length.
How do I stop AI video generation costs from growing?
Set a batch budget and retry limit before you submit jobs. Generate low-cost drafts first, cache fixed assets, and log every attempt by shot. With Apiframe, monitor credit use and concurrency so a large queue doesn't run without review. Change one prompt variable at a time, since random rewrites make failed renders harder to diagnose.
Should I use one AI video model for the whole ad?
You don't need one model for every shot. Use the model that meets each shot's motion, detail, or audio need, then join the clips in an editor. A unified API such as Apiframe lets you switch the model parameter while keeping the same job flow, which makes testing less costly than maintaining separate provider integrations.
Conclusion
Build the first ad as a small, measurable batch: three shots, a firm credit ceiling, and one clear pass rule for each clip. Apiframe is a sensible starting point when you want text-to-video access, model choice, async jobs, and one integration. Create a free account, run one brief through two models, and keep the version that passes your review with the fewest retries.