A sentence can now become a moving scene, but the result isn't magic, and it isn't instant. A video model turns your words into a plan, works through a rough, noisy version of the visuals, then rebuilds motion across many frames. Here's how the full text-to-video process works, and where developers can use it in their own products.
Step 1: Turn a Text Prompt Into a Video Plan
To understand how text-to-video generation works, start with the prompt rather than the pixels. The system first reads your words and maps them to a subject, an action, a camera angle, a setting, lighting, and a visual style.
A short prompt like "a red kite flying over a beach at sunset" gives the model a subject, a motion, a place, and a mood. But it still leaves a lot open. The model has to decide how the kite looks, where the camera sits, how fast the kite moves, and what changes from one frame to the next.
Clear prompts leave less of that up to guesswork. Try writing each shot like a short piece of direction:
- Name the main subject and its key visual details.
- State the action using a clear, specific verb.
- Describe the camera movement, such as a slow push toward the subject.
- Add the setting, lighting, mood, and aspect ratio.
- Keep each shot focused on one main action.
Some systems break one prompt into several smaller pieces. A longer request might turn into a wide establishing shot of the beach, a close-up of the kite, and a final wide shot. This lets the system handle each part as its own manageable piece before joining the clips together.
You can also write out a full script as structured text, where the whole document maps to the video. Each paragraph becomes a scene, and each sentence describes one shot within it. Reusable descriptions of a character or setting can help keep the same look consistent across several shots.
For an app, send the prompt with settings such as model ID, duration, resolution, aspect ratio, and any reference media. Apiframe gives developers one endpoint for these requests, so you don't need separate integrations for every model provider. Its text-to-video API guide shows the job-based pattern in detail.
Think of this step as writing a shot list. The model can fill in missing details, but it can't reliably protect a story that never had clear boundaries.
Step 2: Create Keyframes and Condition the Model
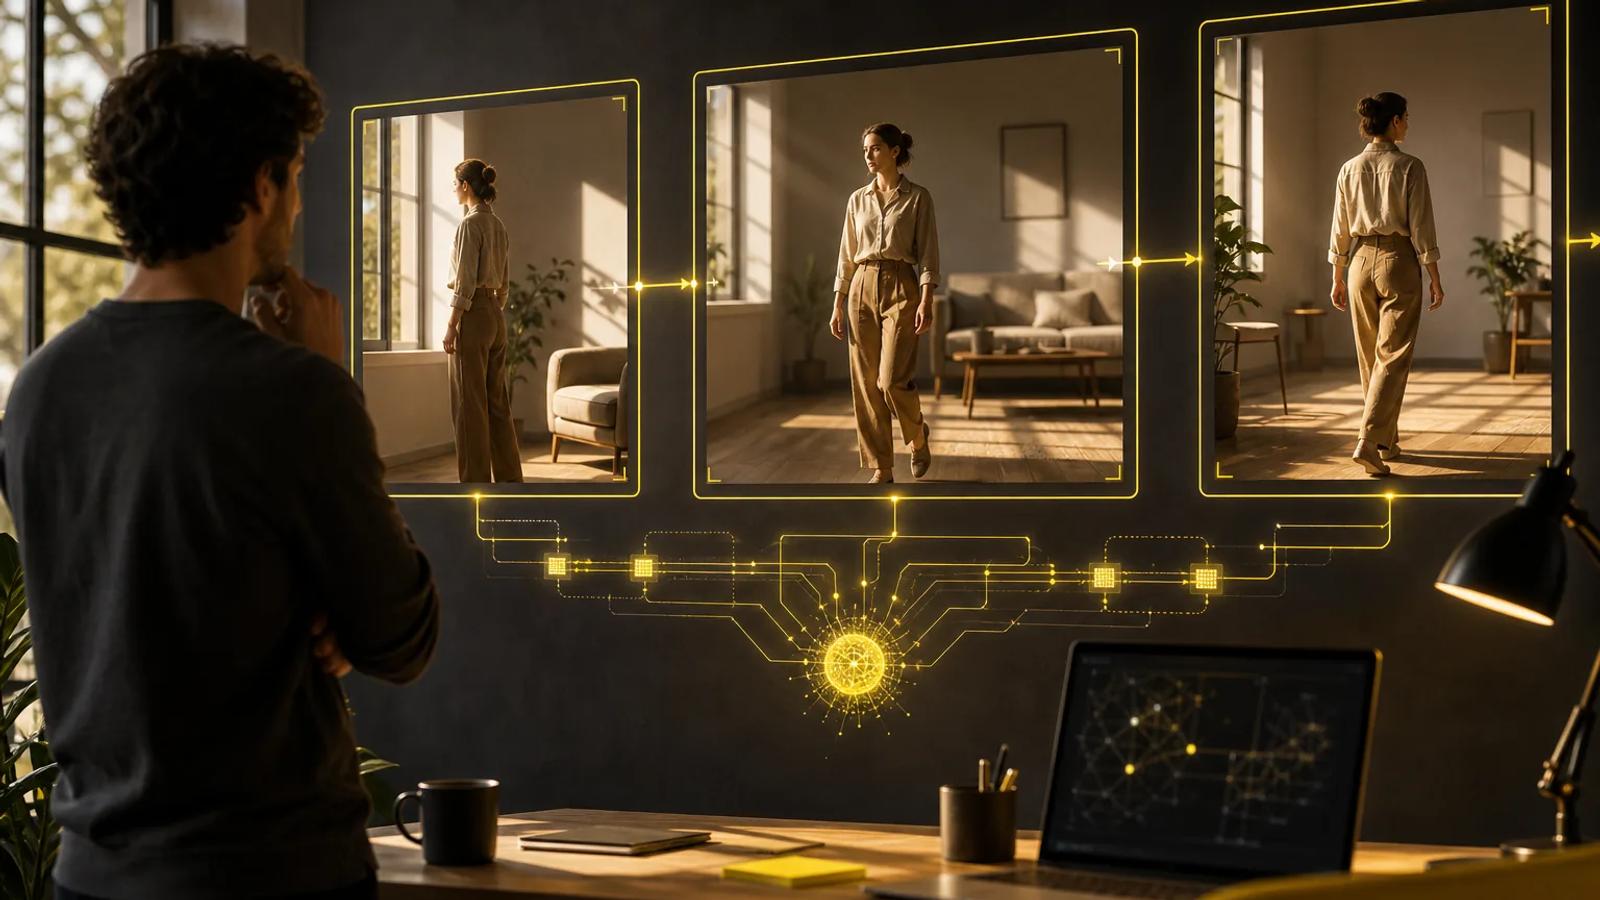
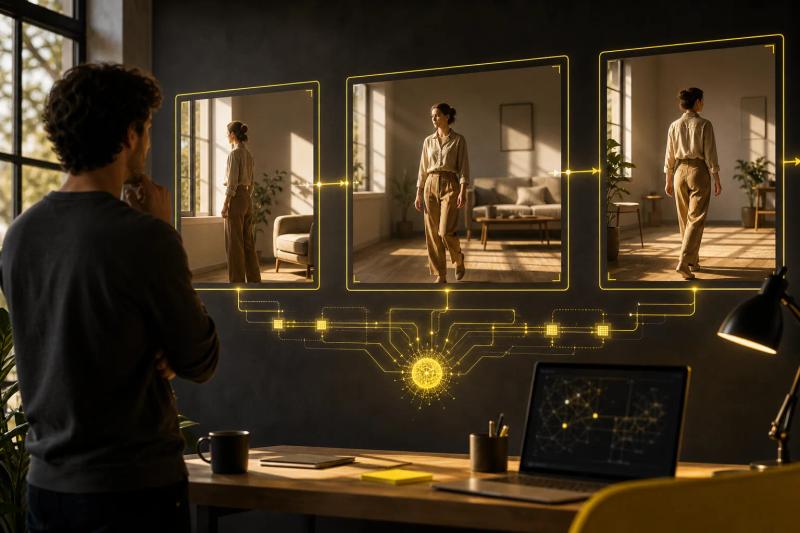
Text-to-video generation needs visual anchors. Keyframes give the model a few important points in the shot, such as the opening image, a middle pose, and the final position.
Many systems start by generating a single preview image from the text. That image sets the subject's shape, the layout of the scene, and the visual style. The video model then treats it as the first frame and predicts how everything should move from there.
A more controlled approach supplies both a first frame and a last frame, and the model builds a path between the two. This works well for something like a product reveal, a character walking toward a door, or a camera move from a wide shot into a close-up.
Keyframes don't freeze every detail. They condition the model. The system still predicts the space between those anchors, including motion, camera change, and small shifts in light.
Behind the scenes, many video systems extend an image diffusion model. Spatial layers handle what each frame looks like. Temporal layers compare information across frames. Separate temporal blocks can improve motion and consistency while keeping more of the image model's learned visual knowledge.
Latent diffusion helps reduce the amount of data the model must process. Instead of working directly on every full-size pixel, the system compresses the frames into a smaller latent representation. It generates there, then decodes the result back into images.
In a staged workflow, the first stage generates keyframes that define the scene, while the second stage uses them to synthesize video clips and smoother movement. You can read the architecture details.
Expect some drift when the initial image and later keyframes use different sizes or crops. A face may change slightly. A prop may move. If identity matters, use reference images or repeated character definitions instead of relying on text alone.
Step 3: Generate and Denoise the Video Frames
This is the stage most people are actually picturing when they ask how text-to-video generation works. The model starts with random visual noise, then gradually removes that noise over many steps while following the text prompt and any visual guides you've given it.
During training, the system takes a clean video and adds Gaussian noise in stages. At an early stage, the frames remain recognizable. At a later stage, they look like random static. The model learns to predict the noise that should be removed at each point.
During generation, the process runs in reverse. The model starts with noisy latent video data. Each pass predicts a cleaner version. After enough passes, the latent sequence contains recognizable subjects and motion. A decoder turns that latent data into visible frames.
The model doesn't treat each frame as a completely separate picture. It processes small chunks that span both space and time, meaning each chunk covers part of the image across several moments in a row. That gives the model the information it needs to understand motion, so it recognizes that the same cup should stay in the same hand as the scene plays out.
Diffusion is the main approach, but it isn't the only one. Autoregressive systems predict visual tokens in sequence, much like a language model predicts text tokens. A hybrid system can use autoregressive planning for the shot order, then use diffusion to render each visual segment.
The choice affects speed and control. Diffusion can produce strong visual results but often needs many model passes. Autoregressive generation can handle sequences naturally, yet long video token streams are expensive and may lose detail. Hybrid pipelines try to assign each method the part it handles best.
| Pipeline choice | What it does | Best use | Main tradeoff |
|---|---|---|---|
| Diffusion | Refines noise into a conditioned video | High-quality short clips | Repeated denoising takes time |
| Autoregressive | Predicts visual tokens in sequence | Ordered scenes or shot plans | Long sequences can be costly |
| Latent processing | Generates in a compressed representation | Lower memory use | Decoding can lose fine detail |
| Keyframe plus interpolation | Sets major poses, then fills motion | Controlled transitions | Bad anchors can cause drift |
| Space-time patches | Processes image areas across time | Motion and frame consistency | More context needs more compute |
Hybrid systems can combine sequence prediction with diffusion, assigning each method a different part of the process. Additional reading.
Generation time varies sharply. Collected reports show a typical high-end GPU run taking roughly 60 to 80 seconds, with a median near 75 seconds in the available latency data. Other claims range from a fraction of a second to several minutes. Hardware, clip length, resolution, queue time, model size, and shortcuts in the benchmark can explain much of that spread.
Step 4: Improve Consistency, Add Audio, and Evaluate the Result
A generated clip is only useful once you've actually looked at it closely. Text-to-video systems can produce a great-looking first frame while still losing track of a character's identity, realistic physics, or timing later in the shot.
Watch the clip once with the sound off. Look for flickering, warped hands, clothing that changes, backgrounds that shift, or objects that jump between positions. Then watch it again with sound on. Check whether the speech matches the mouth movements, whether footsteps match the movement on screen, and whether any cuts land where they should.
When a shot doesn't work, change one thing at a time. Try a shorter, simpler prompt if the action feels confused. Add a reference image if the subject keeps drifting. Supply a final frame if the camera never lands where you wanted it to. Lowering the resolution can also help during early testing, since it puts less strain on the system.
Audio can be added after the video or generated with it. A separate voice system can produce narration, while an audio-aware video model such as Seedance 2.0 may generate dialogue, music, and effects in the same pass. Lip-sync tools align mouth movement with supplied text or audio. They still need review, especially with fast speech or unusual faces.
For editing, look for controls such as image-to-video input, motion brushes, camera direction, voice-over support, and multi-shot transitions. These features let you guide one part of the result without rewriting the whole prompt.
Use more than one score when you evaluate quality. FVD compares generated video distributions with real video distributions. Other evaluation scores can assess how closely the video matches the prompt. Neither score fully captures whether a hand moves correctly or whether a character stays recognizable.
A sound test set should include several prompt types:
- A short prompt with one subject and one action.
- A longer prompt with several clauses.
- A prompt with a named object or brand term.
- A prompt in each language your app needs.
- A repeat prompt to test output stability.
Score each clip for visual quality, prompt fit, motion quality, temporal consistency, and audio alignment. A benchmark built around many prompts and human preference can reveal failures that one average score hides.
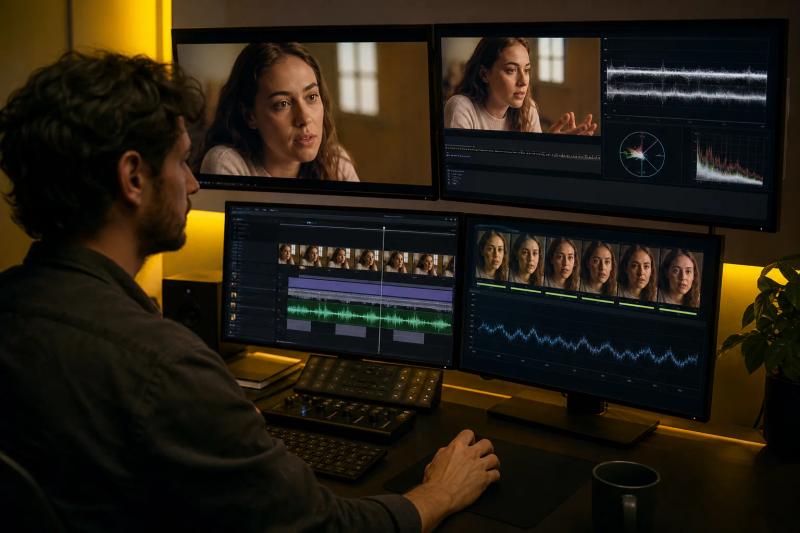
Key Takeaway: A good clip needs more than sharp frames. Check whether the subject, motion, prompt, and sound stay aligned from start to finish.
Step 5: Deploy the Workflow for Video Applications
Once you understand how text-to-video generation works, the next challenge is a systems problem. Your app needs to accept a request, run a long generation job in the background, store the result, and show the user a helpful status along the way.
Don't make the user's browser sit and wait on one open request. Video generation almost always takes a while, so it should run in the background. Your server sends the prompt and settings, then gets back a job ID. From there, it can either check in periodically or wait for a notification (a webhook) once the job is done.
A basic production flow looks like this:
- Validate the prompt, user permissions, duration, and output settings.
- Send the request with an API key stored on your server.
- Save the job ID and show a queued or processing state.
- Poll at a sensible interval, or receive a completion webhook.
- Download the finished file into storage you control.
- Run checks for file type, duration, dimensions, and moderation rules.
- Deliver the clip through your app and record the model and prompt metadata.
Apiframe is built for this model. It gives product teams one API for AI images, video, and music, which can reduce the work of managing several provider contracts and request formats. If you want to understand the broader request and webhook architecture, the AI video API guide covers the job-based flow in detail. If you want to test the flow in Python, the Python text-to-video API tutorial covers authentication, job polling, downloads, and error handling.
Plan for failure. A request may time out, hit a provider limit, or return a clip that fails your quality check. Add retries for temporary errors, but don't retry every failure blindly. Store the error reason and cap the number of attempts.
Cost also depends on finished output, not only successful requests. Track seconds generated, retry rate, storage, bandwidth, and review time. A cheap first render can become expensive if your team needs five attempts for every usable shot.
Open-source models give you more control, but they may need suitable hardware, large memory capacity, model setup, and license review. Hosted APIs reduce infrastructure work, but you trade some control for provider limits and usage costs. Choose based on your workload rather than demo quality alone.
For an app that may switch models as quality or pricing changes, keep the model name in configuration. Your prompt schema should stay stable while the provider-specific fields sit behind your API layer. Apiframe supports that approach by putting multiple video models behind one developer-facing interface.
Pro Tip: Measure render time per finished second of video. That gives you a clearer cost and capacity view than measuring one request in isolation.
Start with a small test set, log every result, and make your quality gate part of the code. That turns a fun demo into a workflow your team can operate.
FAQ
How does text to video generation work?
Text-to-video generation works by reading a prompt, starting with random, noisy video data, and gradually cleaning it up while following that prompt. The model works across both space and time, so it can connect nearby frames into smooth motion. A final step then turns that processed data into a video you can actually watch.
Do text-to-video models use diffusion?
Most current text-to-video models use diffusion, though sequential and combined approaches exist too. Diffusion starts with noise and improves it through repeated predictions. Sequential systems predict pieces of the video in order. Combined systems may plan out the shots using a sequential method, then render those shots using diffusion.
Why do AI-generated videos flicker?
AI-generated videos flicker when the model fails to keep the visuals stable from one frame to the next. The subject, background, color, or lighting can shift slightly between frames. Keyframes, reference images, better handling of motion over time, shorter shots, and clearer prompts can all help reduce this, but every important clip still needs a manual review.
How long does text-to-video generation take?
Text-to-video generation can take seconds to several minutes, depending on the model, hardware, queue, duration, and resolution. Collected latency reports show a typical high-end GPU run near a minute or longer, while some public claims are much faster. Treat any speed figure as a benchmark result, not a universal promise.
Can text-to-video models generate audio?
Some text-to-video models generate synchronized audio along with the video, while others produce silent clips. Audio-aware models may generate speech, sound effects, music, or ambient sound. If the model you're using doesn't support audio, you can add a separate voice or sound step afterward, but be sure to check the timing and lip movement before publishing.
How can developers add text-to-video to an app?
Developers usually call a video generation API, receive a job ID, wait through polling or a webhook, then download the finished file. Keep the API key on the server and store the output in your own storage. Apiframe provides a single interface for adding video generation without running each model yourself. For most product teams, the best approach is a background-processing API with clear control over the model, good logging, and a quality review step built in. Start with five sample prompts, measure the time per finished second of video, and compare the results before scaling up. Apiframe is a reasonable place to test this workflow, since one integration can connect your app to several AI media models at once.