Creating a professional blog cover no longer requires design skills or expensive software. With GPT Image 2, you can generate a polished, on-brand cover image in just a few minutes. Here's the entire workflow, from prompt to publish-ready file.
Step 1: Access GPT Image 2 via Apiframe Studio
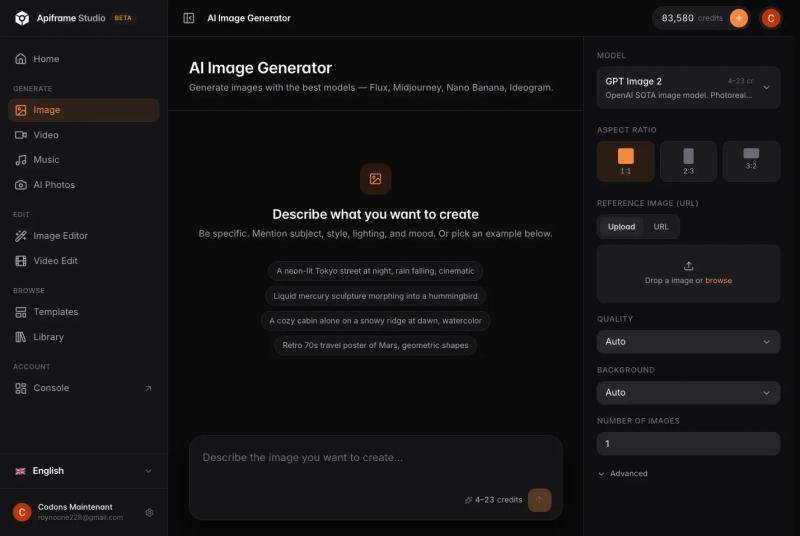
To use GPT Image 2, head over to Apiframe Studio. It gives you a simple interface for generating images with the model, with no coding or API setup required. Sign in, and you're ready to create.
Step 2: Describe Your Cover and Pick the Aspect Ratio
Write a clear description of the cover you want. The more specific you are, the better the result. Mention:
- The subject or theme of your blog post
- The style you want (minimal, illustrated, photographic, 3D, etc.)
- Colors or mood that match your brand
- Any text or layout elements, such as space for a title
Here are two example prompts you can adapt:
"A minimal flat illustration of a laptop on a desk with a coffee cup, soft pastel blue and cream colors, clean composition with empty space on the left for a title. Blog cover for an article about remote work productivity."
"A modern 3D render of a glowing rocket launching from a smartphone screen, dark navy background with orange accents, dynamic and energetic mood. Blog cover for a startup growth marketing post."
And here's the exact prompt used to generate the cover for this very post:
"A clean, modern illustration of an AI generating a blog cover: a stylized browser window with an image taking shape inside it, surrounded by subtle sparkles, soft gradient background in purple and teal, empty space on the right for a title. Blog cover for a tutorial about creating blog covers with AI."
Then choose the correct aspect ratio. For blog covers, a wide landscape format (such as 16:9 or 3:2) usually works best, since most blog platforms display cover images horizontally.
It's also a good idea to include part of your blog title directly in the image, for example: "...with text saying: GPT Image 2 for Blog Covers." For more general tips on getting the best results from your prompts, see our guide on how prompt engineering shapes photorealistic output.
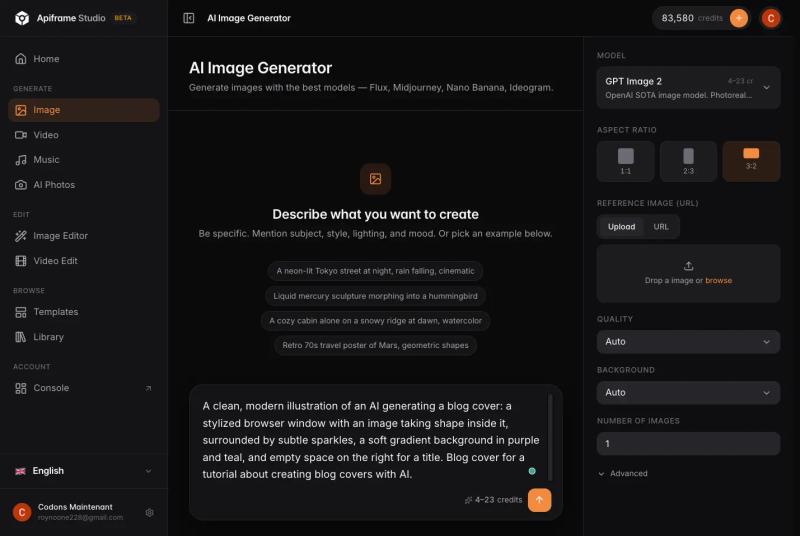
Step 3: Submit and Wait for Completion
Hit submit and let GPT Image 2 do its work. Generation usually takes a short moment. Once it's finished, review the result. If it's not quite right, tweak your description and generate again until you're happy with it.
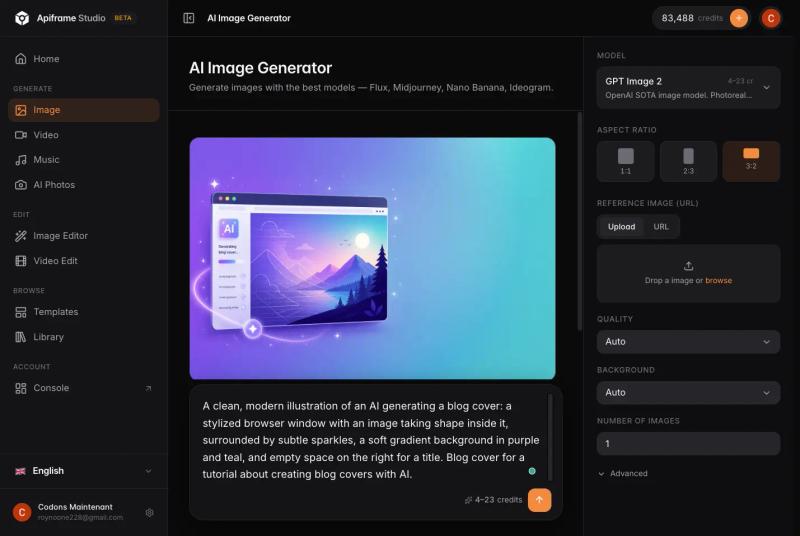
Step 4: Download and Compress the Image
Download your generated image, then head to Squoosh to compress it. Squoosh is a free, browser-based tool from Google that dramatically reduces file size without noticeably hurting quality.
In Squoosh, choose WebP as the output format. WebP files are much smaller than PNG or JPEG at similar quality, which keeps your blog loading fast. That's great for both readers and SEO.
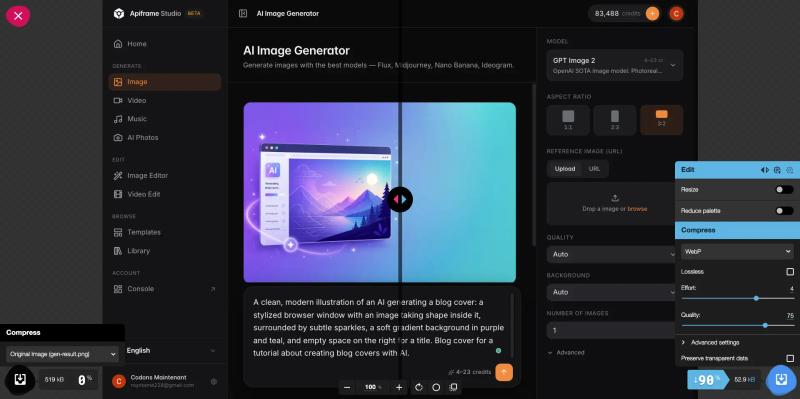
Step 5: Save Your Optimized Cover
Click the save button in Squoosh to download your compressed WebP file. That's it, your blog cover is ready to upload.
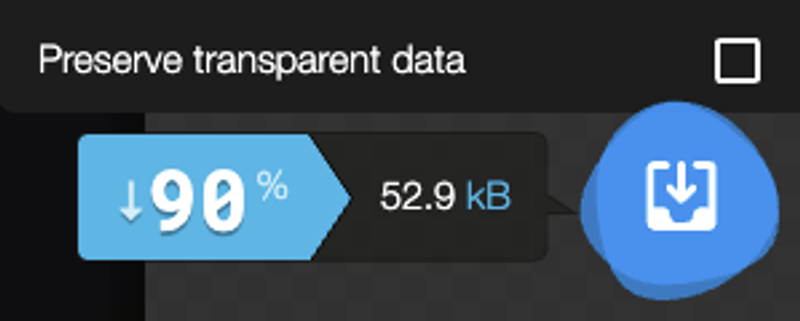
Quick recap: Generate with GPT Image 2 in Apiframe Studio, describe the cover and set the aspect ratio, submit and wait, compress to WebP on Squoosh, then save. A fast, repeatable workflow for good-looking blog covers every time.
Want to go deeper with GPT Image 2? Our GPT Image 2 API Guide covers the full parameter set, real pricing, and working code if you'd rather generate covers programmatically instead of through Apiframe Studio. If you're deciding between model versions, GPT Image 1.5 vs 2 breaks down what changed and which one to use. For image editing beyond the initial generation, like touching up a cover after the fact, see the AI Image Editing API guide. And if you're weighing GPT Image 2 against other models for this kind of work, our AI image API guide, our roundup of the best AI image generator APIs, and our comparison of 4 Best GPT Image 2 API Providers are all worth a look.
You can get an API key and start with free credits if you want to build blog cover generation directly into your own publishing workflow.